
What you’ll need
- An active subscription. Requests and print files open when you subscribe.
Screens shown with a fictional demo practice and AI-generated model photos.
-
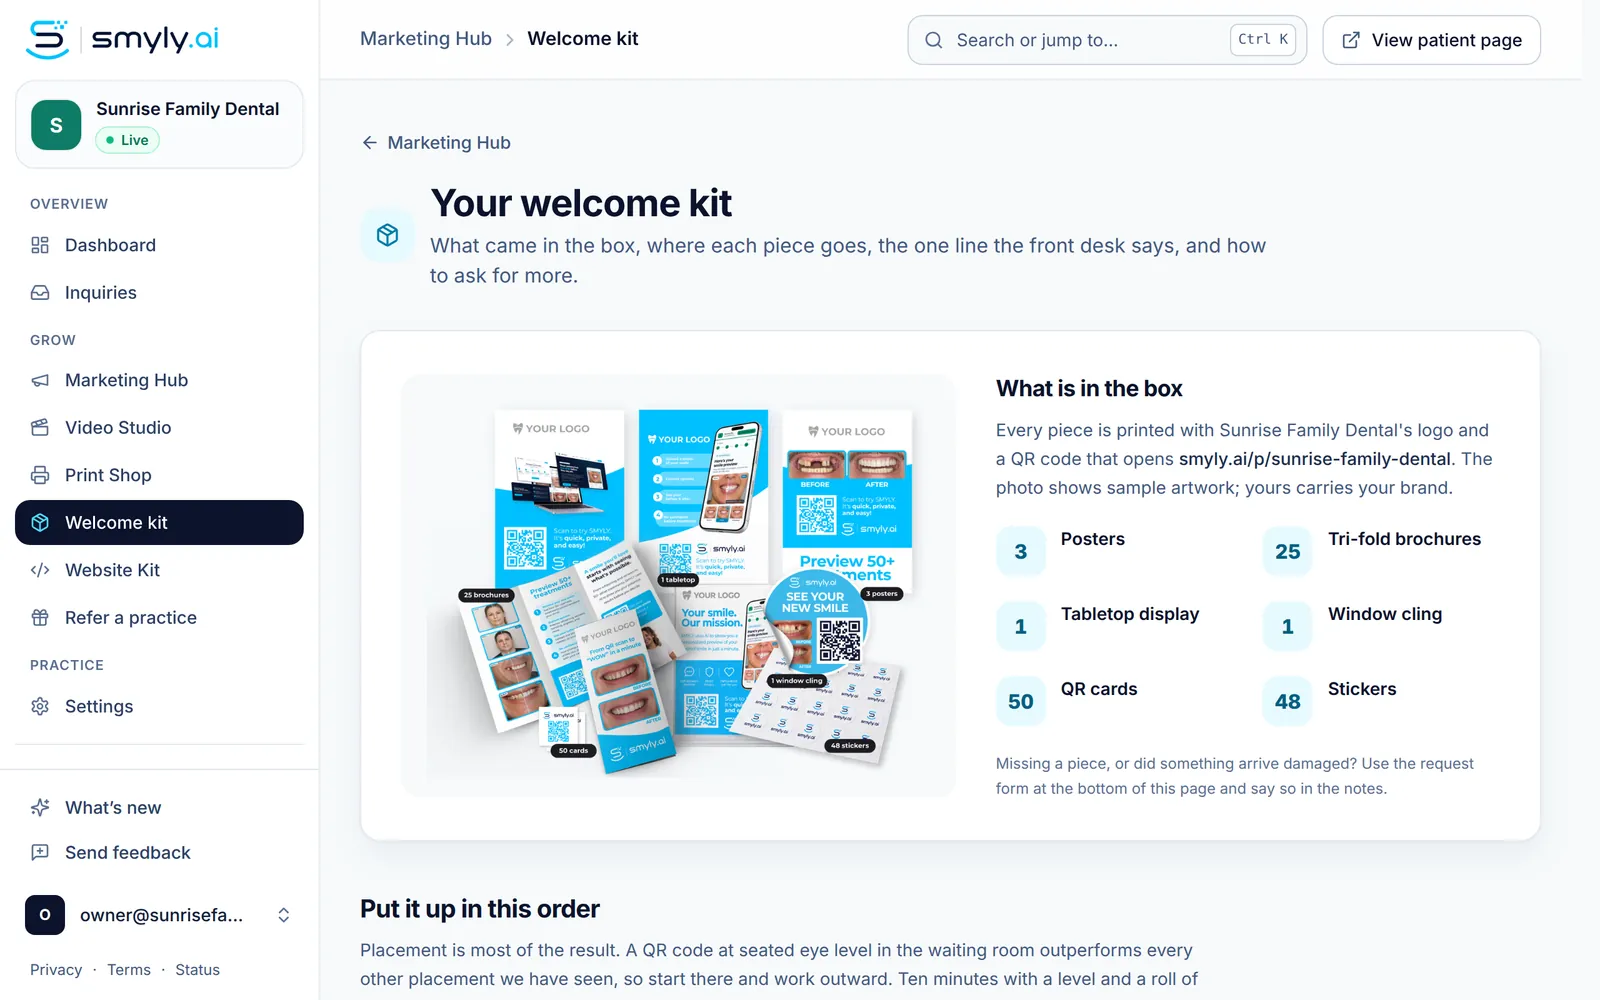
Step 1: Open your welcome kit
Click Welcome kit in the sidebar. What is in the box lists every piece: 3 posters, 25 tri-fold brochures, a tabletop display, a window cling, 50 QR cards and a sheet of 48 stickers, each printed with your logo and a QR code that opens your patient page.
Below it, Put it up in this order says where each piece goes (see Put your QR code where patients scan it).
-
Step 2: Request more materials
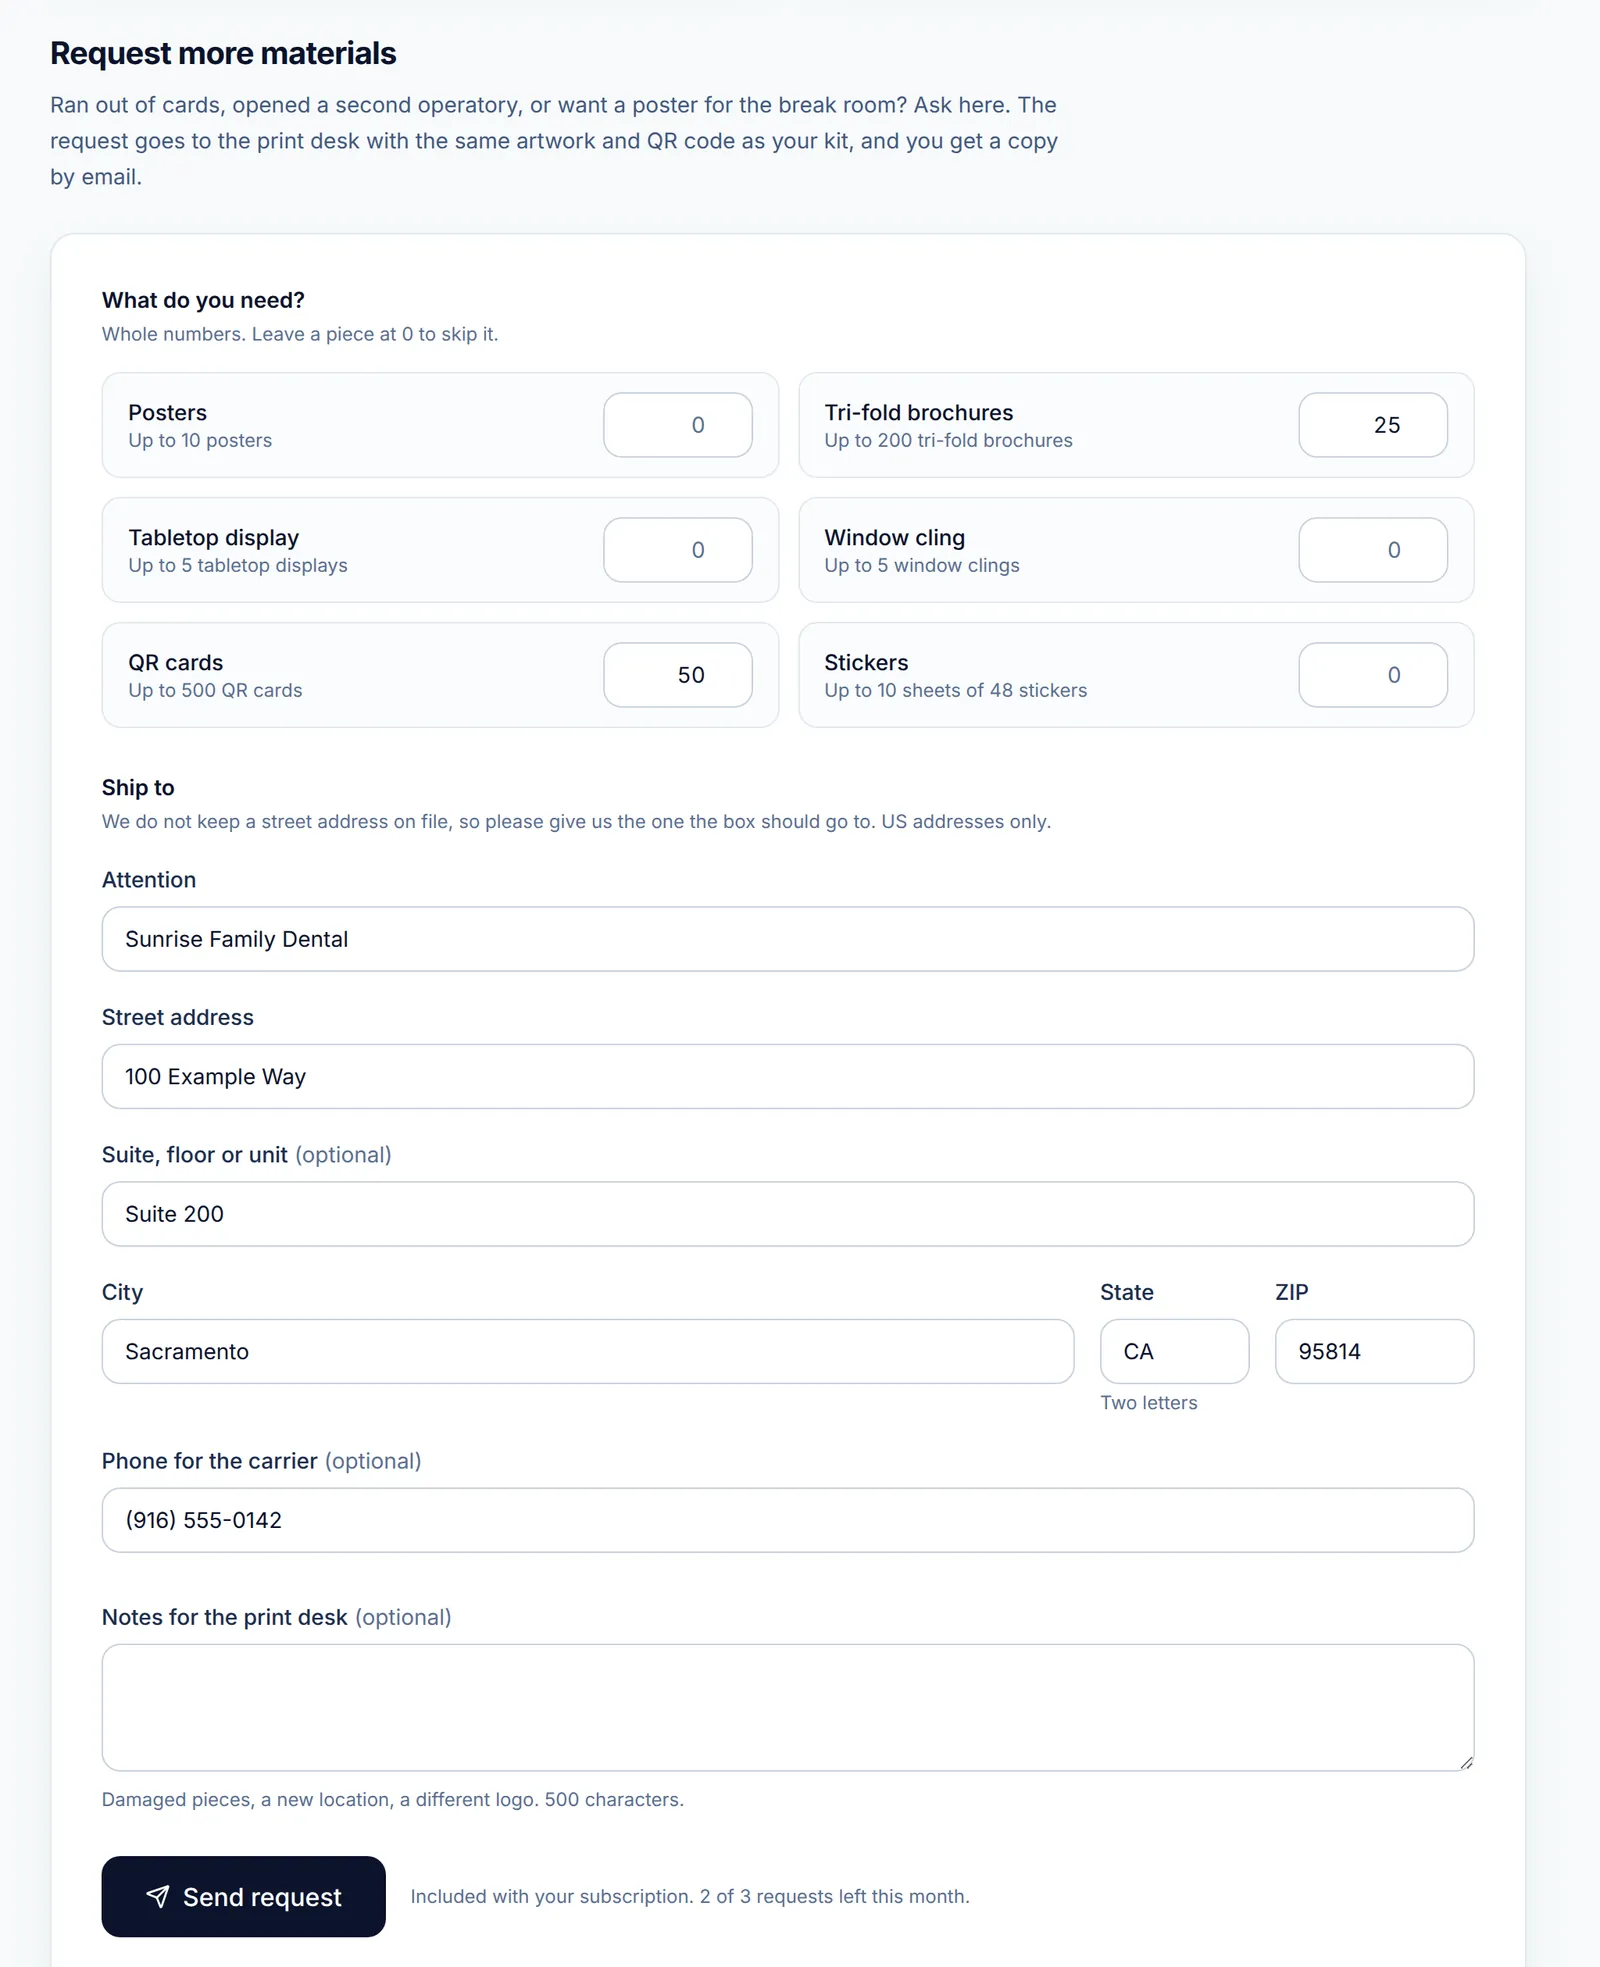
Under Request more materials, type how many of each piece you need, for example 100 QR cards. Each piece shows its limit, and anything left at 0 is skipped.
Fill in Ship to: attention, Street address, city, state and ZIP (US addresses only). Add notes for the print desk if something arrived damaged or you need a different logo, then click Send request.
-
Step 3: Watch for the confirmation
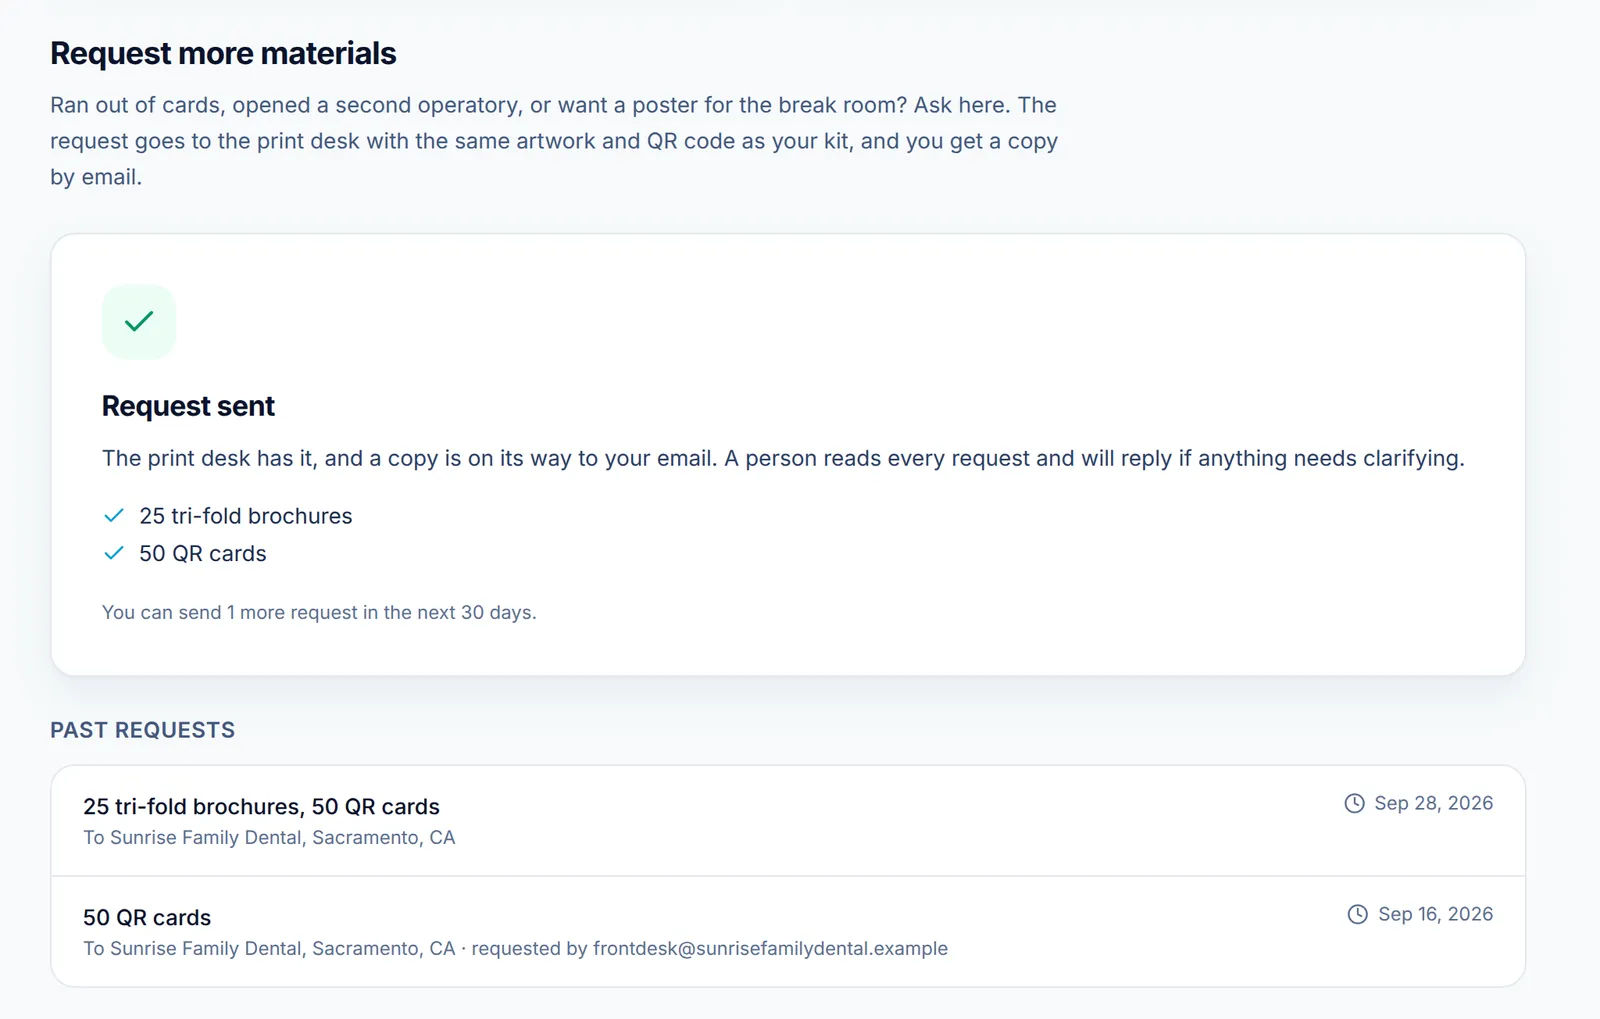
Request sent confirms the print desk has it, and a copy goes to your email. A person reads every request and replies if anything needs clarifying. Your earlier requests are listed under Past requests.
You can send three requests in any 30 days. It is a message to a person, not a checkout: there are no prices on the form.
-
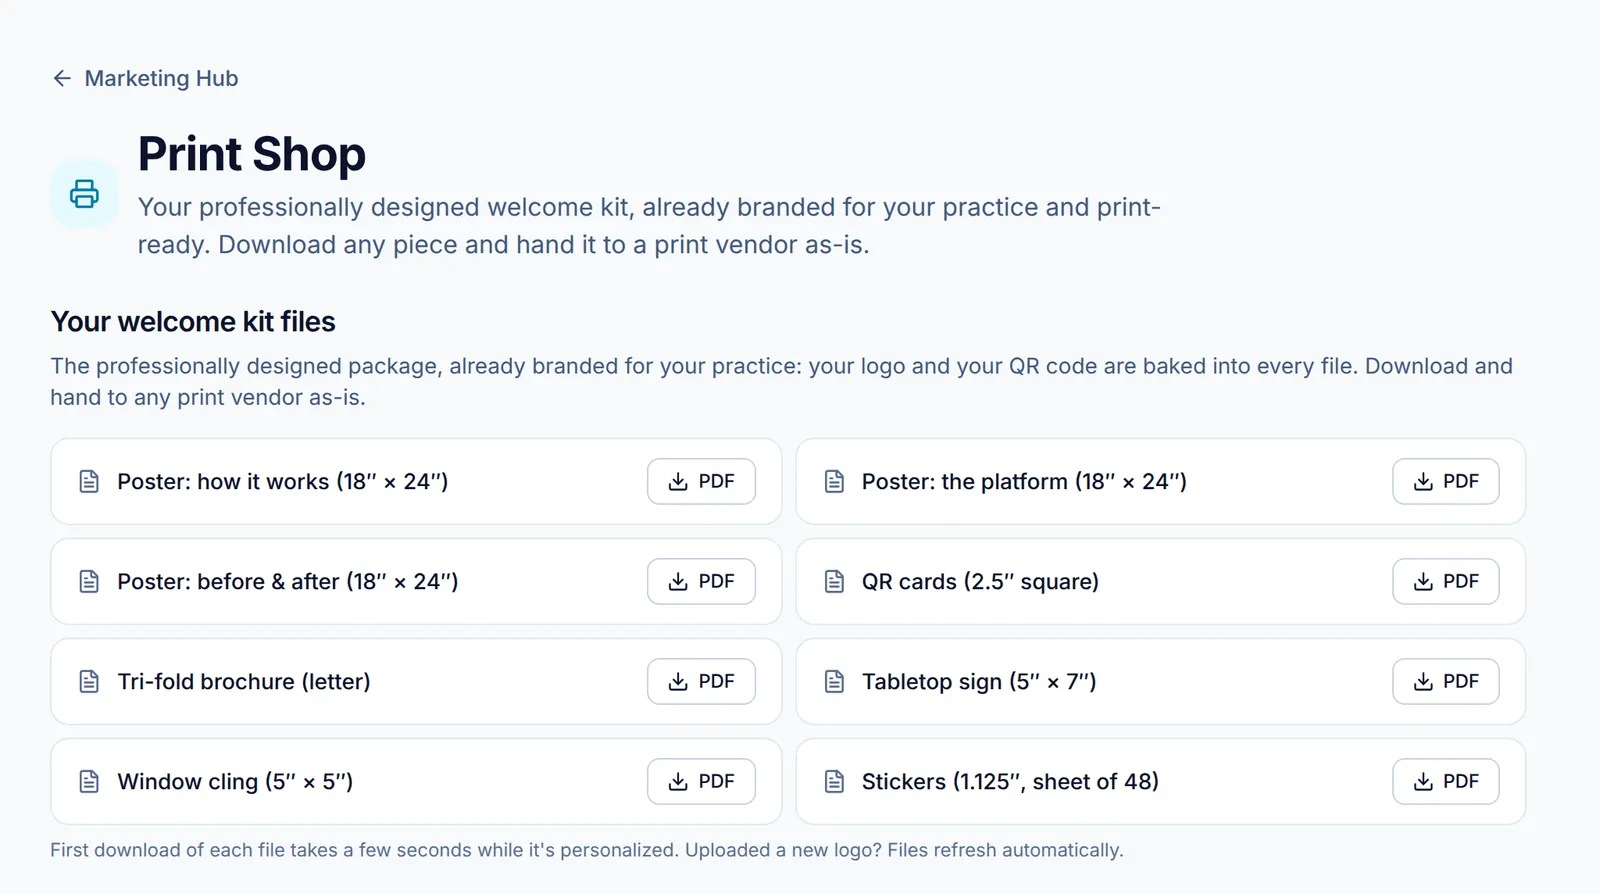
Step 4: Or print it yourself from the Print Shop
Good to know
- Uploaded a new logo? The Print Shop files refresh automatically.
- The Print Shop also has a patient share card for your referral program, as a press-ready SVG.
Related guides
-
Put your QR code where patients scan it
Print the waiting-room poster from your dashboard, hang it at seated eye level, and see which printed pieces bring in visits.
6 steps · 8 min · 5 screens Read
-
Ask for Google reviews the compliant way
Print Google review flyers and counter cards from your own review link, and use Yelp assets that make you findable without asking.
4 steps · 6 min · 4 screens Read
-
Create social posts in your brand
Connect your profiles, print a follow-us flyer, and generate post images that send people to your smile preview page.
4 steps · 5 min · 2 screens Read
New to Smyly? See it on your own practice.
Start a 7-day free trial: your branded patient page is live the same day. A card is required at checkout and nothing is charged for 7 days.
Ready to try it?
Everything in this guide is one click from your dashboard. Stuck on a step? Use Send feedback in the app, or email [email protected].
Open your dashboardSomething here doesn’t match what you see? Email [email protected] and we’ll fix the guide.