
What you’ll need
- Access to edit your website’s HTML, or the email address of whoever does.
Screens shown with a fictional demo practice and AI-generated model photos.
-
Step 1: Pick an embed
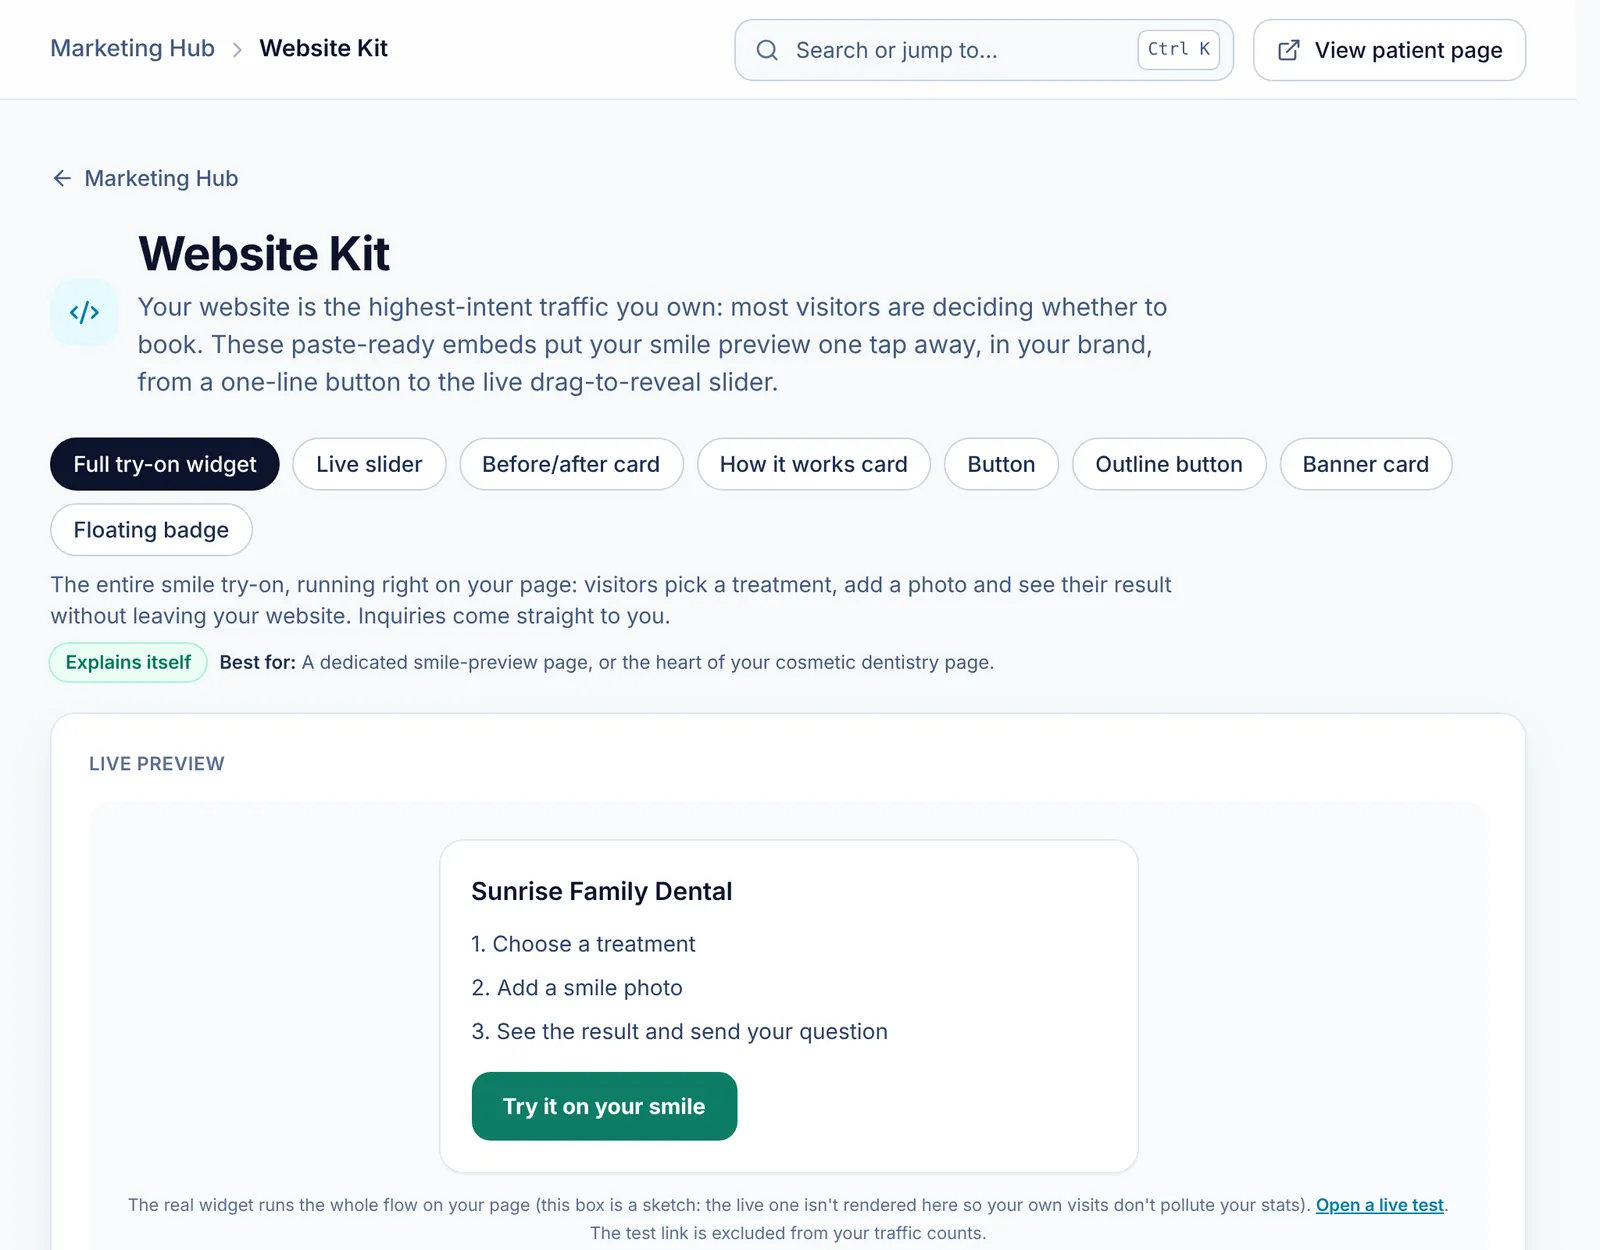
Click Website Kit in the sidebar. Choose a style: the Full try-on widget runs the whole preview on your page, and there are a live slider, a before and after card, a how-it-works card, buttons, a banner and a floating badge.
Each style says whether it Explains itself to a first-time visitor and where it works best. For the widget, Open a live test runs the real thing; test visits are not counted.
-
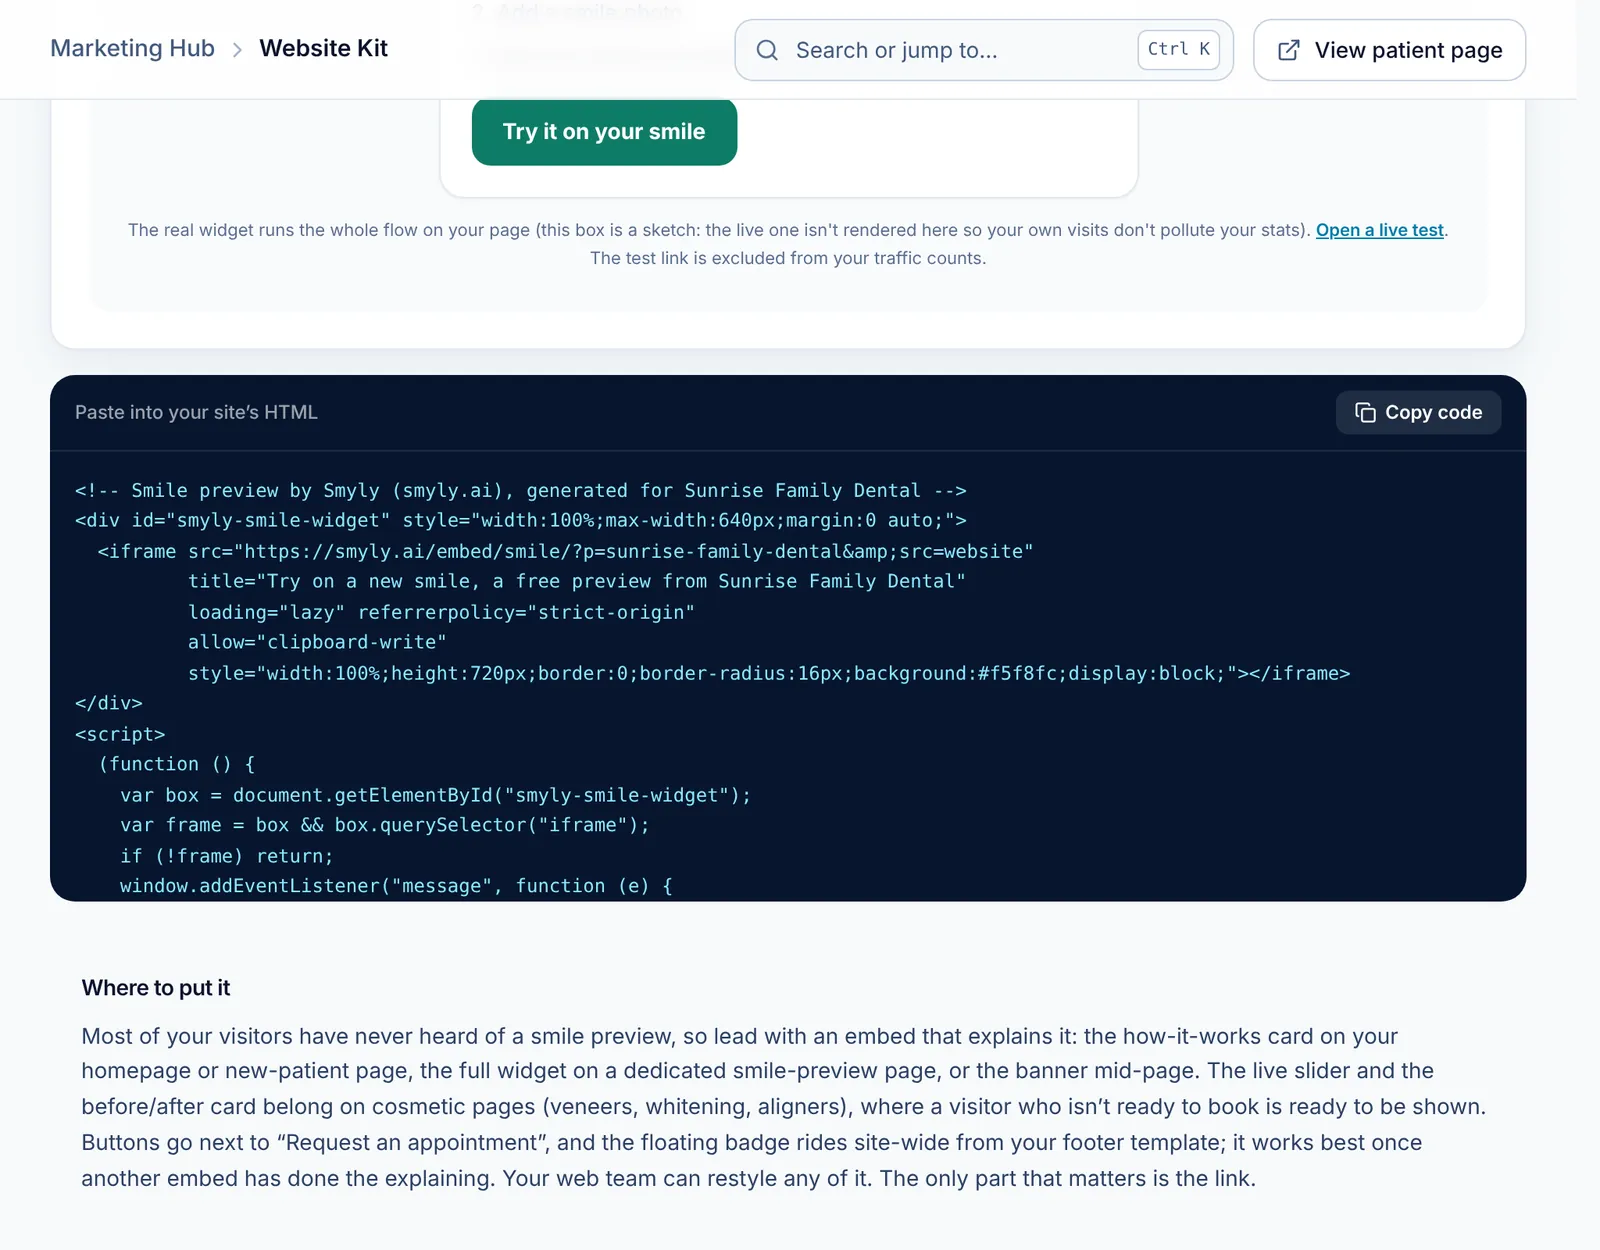
Step 2: Copy the code and paste it into your site
-
Step 3: Feature a treatment with the live slider
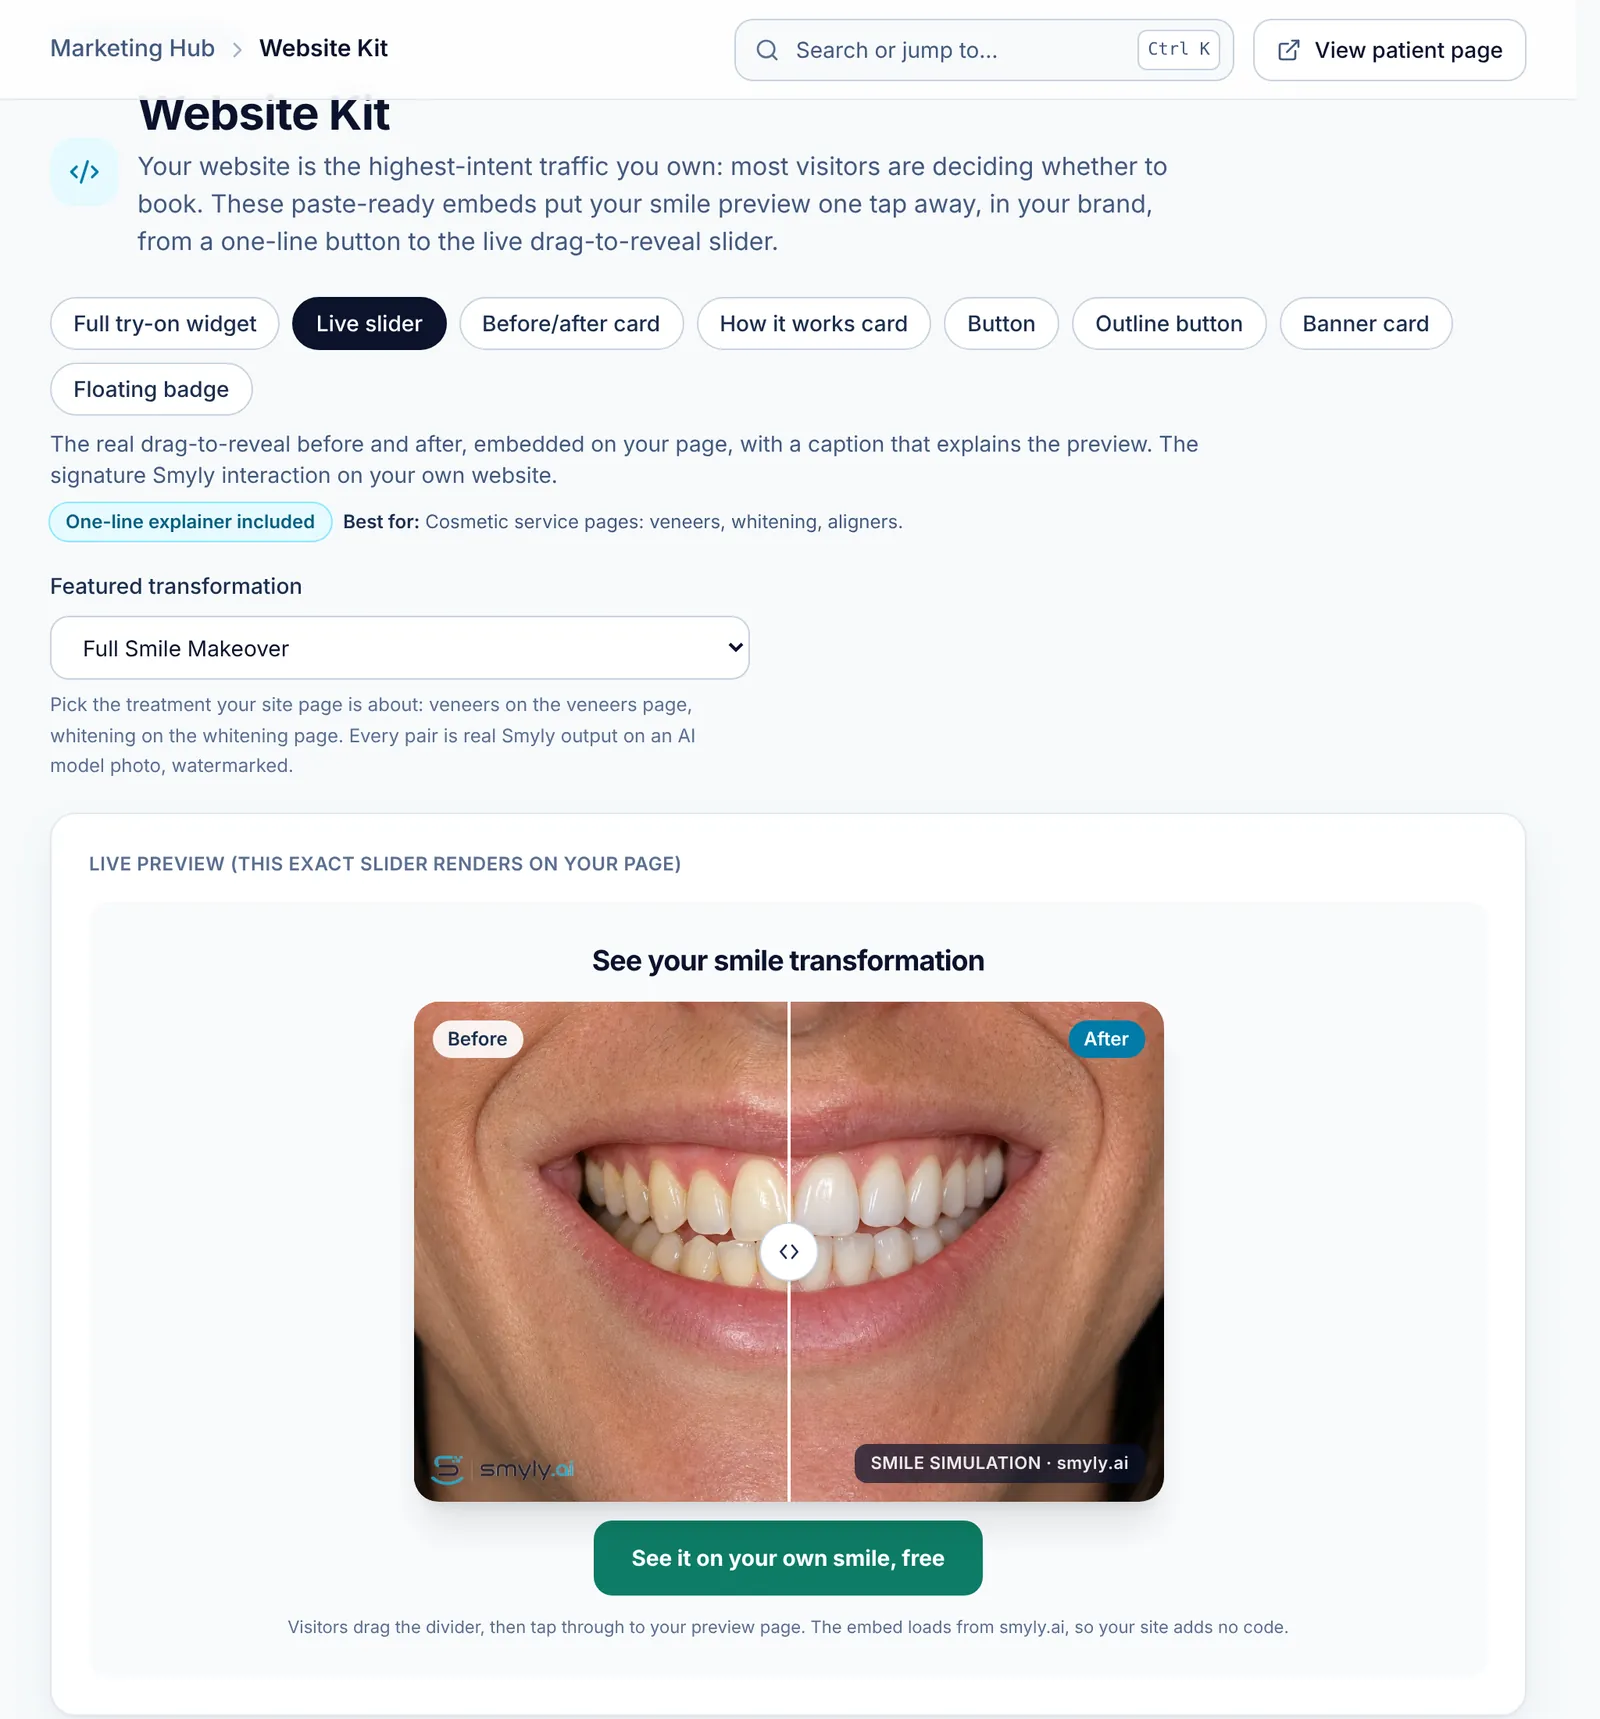
Choose Live slider or the before and after card, then pick the Featured transformation that matches the page it goes on: veneers on your veneers page, whitening on your whitening page. Visitors drag the divider, then tap through to your preview page.
-
Step 4: Put each embed where it works
Most visitors have never heard of a smile preview, so lead with one that explains it: the how-it-works card on your homepage or new-patient page, or the full widget on its own smile-preview page. Put the slider and the before and after card on cosmetic service pages, buttons next to Request an appointment, and the floating badge in your footer once another embed has done the explaining.
Related guides
-
Create social posts in your brand
Connect your profiles, print a follow-us flyer, and generate post images that send people to your smile preview page.
4 steps · 5 min · 2 screens Read
-
Make a promo video in Video Studio
Pick a service and a video type, set the look, edit the slides, and render a real MP4 in your browser.
4 steps · 8 min · 3 screens Read
-
Put your QR code where patients scan it
Print the waiting-room poster from your dashboard, hang it at seated eye level, and see which printed pieces bring in visits.
6 steps · 8 min · 5 screens Read
New to Smyly? See it on your own practice.
Start a 7-day free trial: your branded patient page is live the same day. A card is required at checkout and nothing is charged for 7 days.
Ready to try it?
Everything in this guide is one click from your dashboard. Stuck on a step? Use Send feedback in the app, or email [email protected].
Open your dashboardSomething here doesn’t match what you see? Email [email protected] and we’ll fix the guide.